
1. Prep the Surface First
-
- Substrate must be clean, dry, level, and structurally sound (granite is heavy, so weak or flexing surfaces cause cracks later).
-
- Remove dust, grease, old adhesive, and any loose material.
-
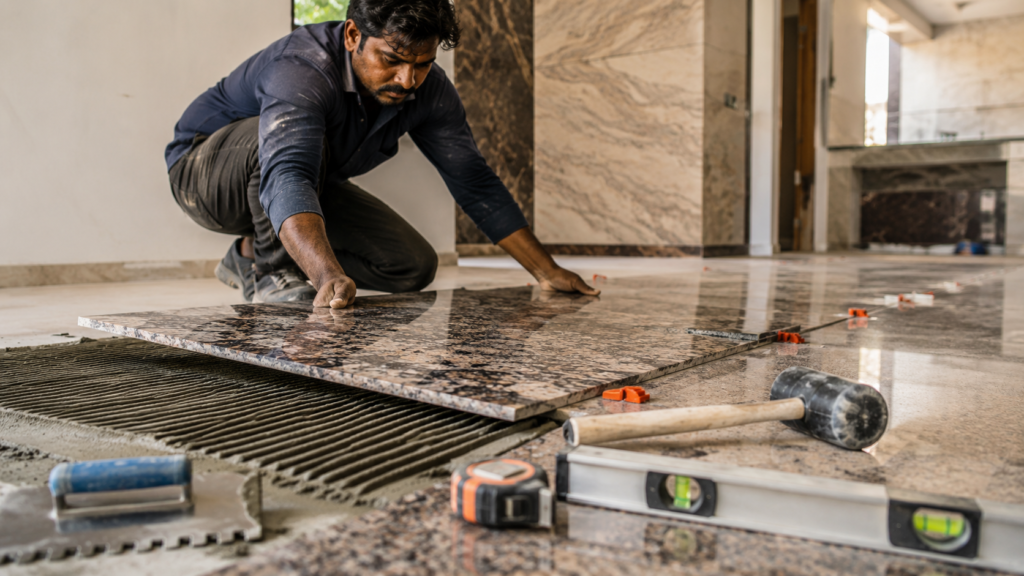
- For floors, check with a spirit level or straight edge — granite doesn’t hide an uneven base well.
-
- On plywood or wood subfloors, add a cement backer board first; granite needs a rigid base.
2. Choose the Right Adhesive
Granite is dense and heavy, so ordinary adhesive won’t do:
-
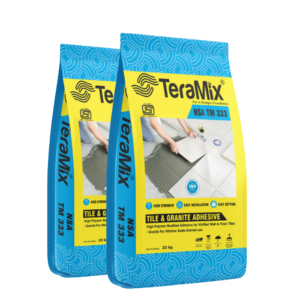
- Use a high-strength TeraMix TM 333 Tile & Granite Adhesive, polymer-modified thin-set mortar (not a standard tile adhesive meant for ceramic).
-
- For large slabs or countertops, consider epoxy-based adhesive for maximum bond strength and minimal shrinkage.
-
- White thin-set is preferred for light-colored or polished granite to avoid discoloration showing through.
3. Back-Butter the Granite
-
- Apply adhesive to the substrate with a notched trowel (larger notch size for bigger slabs — typically 1/2″ x 1/2″ or bigger).
-
- Also apply a skim coat directly to the back of the granite piece (“back-buttering”). This ensures full, even contact and prevents hollow spots (lippage or cracking under weight).
4. Set the Granite Carefully
-
- Press each piece firmly, using a slight twisting motion to seat it and push out air pockets.
-
- Use a rubber mallet and a wood block to tap it level — never hit granite directly, it can chip.
-
- Use spacers for consistent grout lines (or push slabs edge-to-edge for a seamless look on countertops).
-
- Check level constantly as you go — granite is unforgiving once adhesive sets.
5. Support Overhangs and Joints
-
- For countertops with overhangs beyond 6–8 inches, add plywood or corbel support underneath.
-
- Seams between slabs should be reinforced with seam adhesive/epoxy and clamped until cured.
6. Let It Cure Properly
-
- Don’t walk on floor tiles or use countertops for at least 24–48 hours.
-
- Full cure (for grouting or heavy use) typically takes 48–72 hours, depending on adhesive type and humidity.
7. Seal Before Grouting
-
- Granite is porous — seal it before grouting to prevent grout haze and staining.
-
- Grout joints once adhesive has cured, then apply a second sealant coat after grouting.